Digital Materials and Textures
Advanced Shaders - Daylily v2
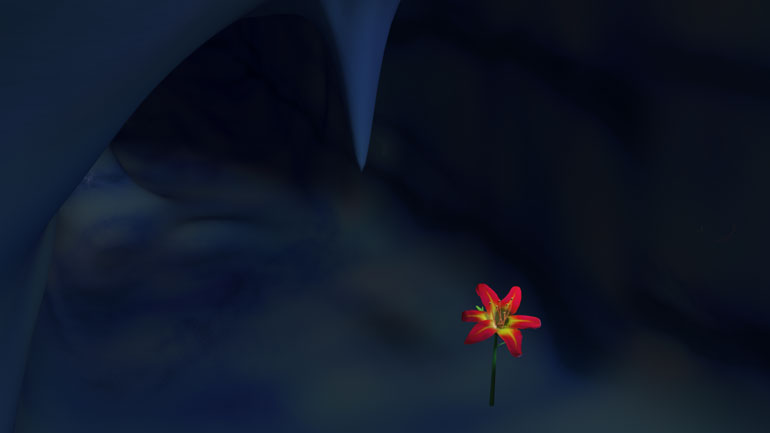
This project focused on using advanced shading techniques. I focused on further development into sub-surface shading (SSS) shaders as well as experimenting with Maya's Fur and mia_material_x.
Digital Materials - Daylily v2 from Sean Dooley on Vimeo.
Overview
I decided to expand upon my Project 2 and to carry it into Project 3 to continue developing and refining my shaders, especially after I only had about a day to work on the SSS shader for the petals. So one of the first things that I did was I created full SSS shaders for all of the parts of the flower that I didn't get to in the prior project - the stems and buds. I then went to refine my petal SSS shader, however, because of the overly powder quality of the specularity of the petal, I ended up experimenting with mia_material_x for the petals using the Oren-Nayer Diffuse shading instead of your traditional Lambertian. I also focused on using mia_x's transparency/translucency as well as the Additional Color attributes to create the SSS-like effect in this traditional architectural shader.
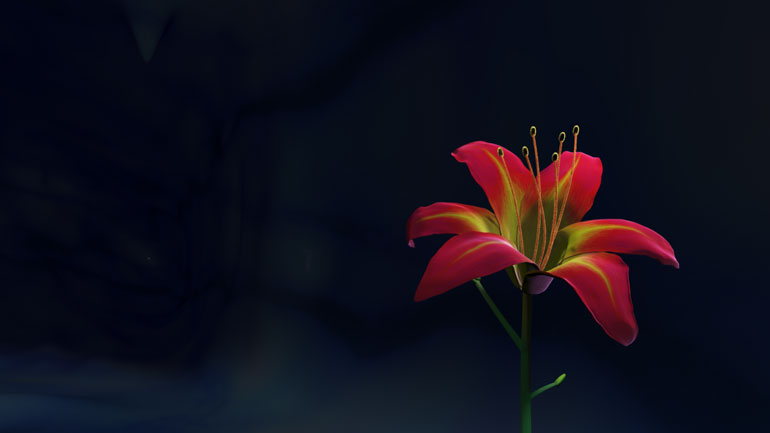
I also continued to work on creating a proper displacement map for the frills of the petals, however, everything I tried, including using the Approximation Editor for displacement and modifying how the displacement occurs, ended up not working at all due to the extra-thin surface of the petals. So I then sculpted the petal edges inside of Mudbox instead and increased the poly count of the petals since the camera gets close to the model. However, because of how it ended up working, when I sculpted the petals, I didn't have a UV map associated with it and so my textures wouldn't work properly. So I ended up exporting the original low-poly models of the petals and the new high-poly petals with the sculpted displacement as .obj files, brought both models into Houdini, and then used the Attribute Transfer node to transfer the old UV data to the new model. And it worked perfectly.
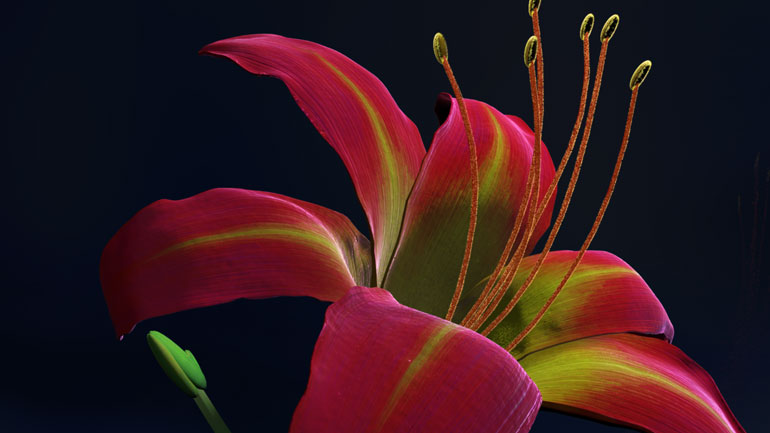
Another goal was to add Fur to the stamen and anthers of the flower. I created at least two different fur descriptions for the two different sets of models that needed the fur. I struggled with these black rendering artifacts that I learned to be "dead pixels", likely as a result of a math error calculation with the rendering process. I figured out that they may be linked to out-of-range attribute values within the fur descriptions so I went back in and made sure that my noise values didn't send the attribute value outside of the 0-to-1 range. I also changed the fur rendering type to Volumetric Fur to again try to help the math work correctly at render time. And sure enough, it seemed to fix my dead pixels.
Past that, I also reworked the lighting, increased the scale of all of the models to help the SSS shaders work better without needing such small numbers of scatter radius values, and I also did some small, experimental testing with faking depth-of-field by using a depth pass and brining it into Nuke and creating the illusion of depth with with Z-blur node, however, it didn't make much of a difference because of the lack of detail in the background and the foreground.
Review
What I Learned/Challenges
- I had a lot of trouble getting the displacement to work, and ended up sculpting the geometry instead. I then had trouble losing my UV data, and instead of mapping the UV data from scratch, I did an Attribute Transfer within Houdini.
- I learned how to use a depth pass and create another channel of information. I also learned how to use Nuke to create the illusion of depth-of-field.
- I continued to learn a lot about SSS shaders and about how to develop a SSS network faster and more accurately.
- I learned quite a bit about mia_x and Oren-Nayer diffuse shading and how to create a fairly organic shader from an architectural shader.
- I also learned how to create and use Maya's Fur. I did however have difficulties with "dead pixels" within the fur renders. It was likely a result of out-of-range attribute values.
Future Improvements
- I would like to continue to develop my lighting more.
- I would like to rework the shader for the ice cave since the scales of it were drastically changed when I increased the size and it threw off the procedural shader for it. I also really want to fix the specular qualities of that shader since they were so strong from my original project in my opinion.
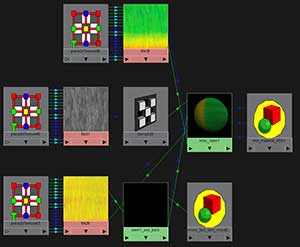
Technical Breakdown/Extra Information

 |
 |
 |
|
 |
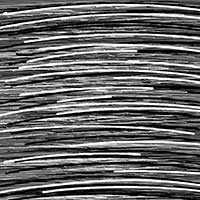 |
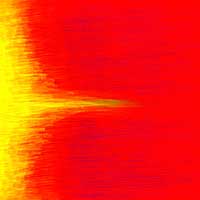
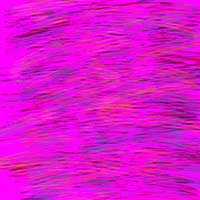
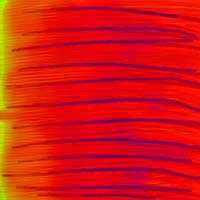
Below are the textures for the stem models of the flower
 |
 |
 |
|
 |
---------------------------------------------------------
This class used Maya to work on shader network development using Maya's tools and nodes to create realistic looking shaders. The primary goal was in shader development, not modeling or lighting. However they still needed to be address. Every model was one I created myself and it was not something I found from an online source.