Advanced Survey of Computer Art Applications
Adobe Photoshop CS3
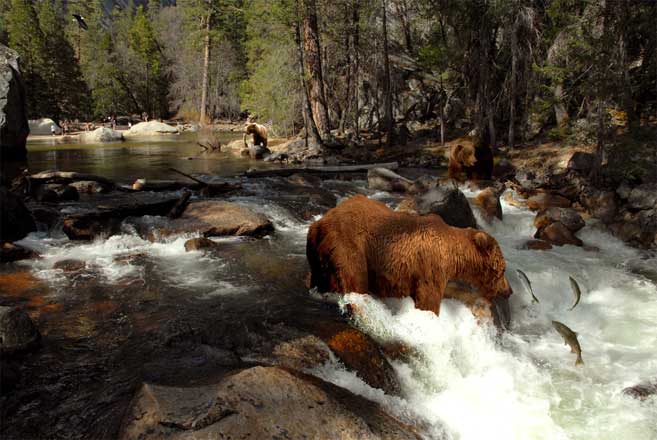
Overview - Project 2 - Image Creation -- "Da Bears"
This was the first Photoshop project to create an image composite in a realistic manner by taking various images and compositing them together into one collage. A major goal was non-destructive image manipulation, so all of the changes to the Levels, Brightness, Contrast, etc, etc, are done with Adjustment Layers instead of the blanket adjustments to the whole image. This allows for more fine control of the edits as well as dynamic editing of them without destroying the original image. Any component that required hand-painting to clean up the image was done on a seperate layer so that the paint is seperate from the original and can thus be modified separately as well.
The background plate is a photograph that I took myself. The rest of the components are taken from various images I found from a Google image search.
This project was later taken into After Effects to show the build up of the different changes to the components of the bears and how the overall image was composeted to create the final image.
--------------------------------------------------------------------------------------------------------------
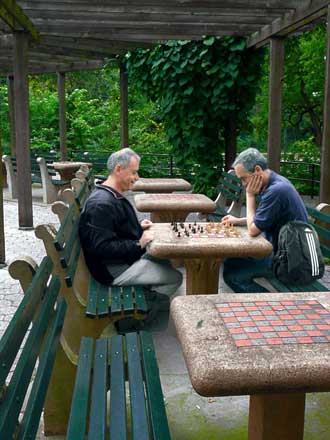
Overview - Project 3 - Image Creation -- "Chess in the Park"
An extension of Project 2 to continue practicing the techniques we learned and to help improve our ability to create a realistic composite. The same goals were required and all edits were done in a non-destructive manner.
All of the components of this image were found from a Google image search.
--------------------------------------------------------------------------------------------------------------
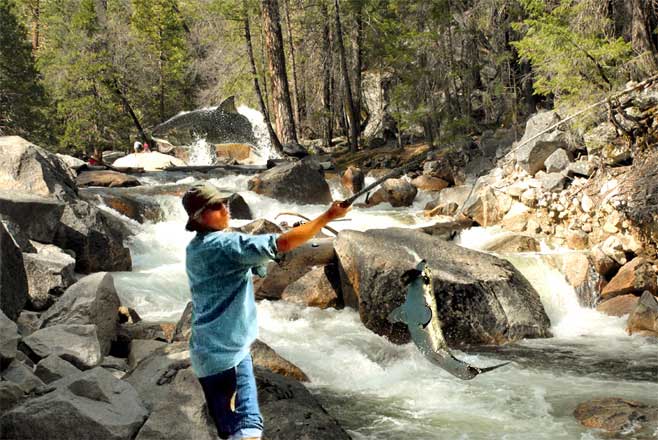
Overview - Exercise 2 - Image Creation -- Fishing for Sharks
This exercise introduced Photoshop and the basics of image manipulation and non-destructive editing. One of the major problems I had this with image was that I used source images that were too small and too pixelated when combined with the final image. Specifically, the man in the foreground catching the small shark - that image's resolution was too small compared to the rest of the images and so he looks extra grainy and blown out.
The background plate is a photograph that I took myself. The rest of the components are taken from various images I found from a Google image search.
--------------------------------------------------------------------------------------------------------------
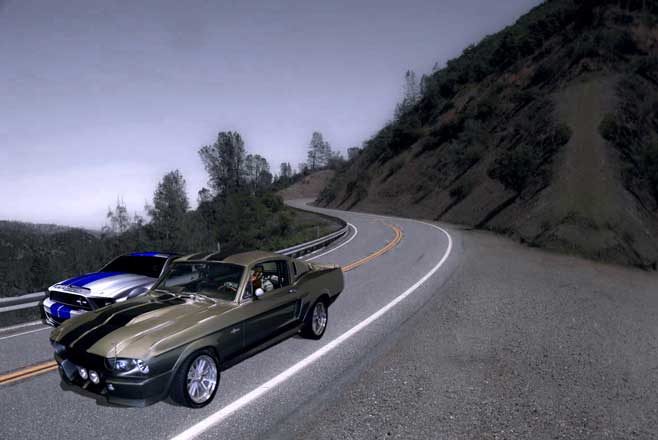
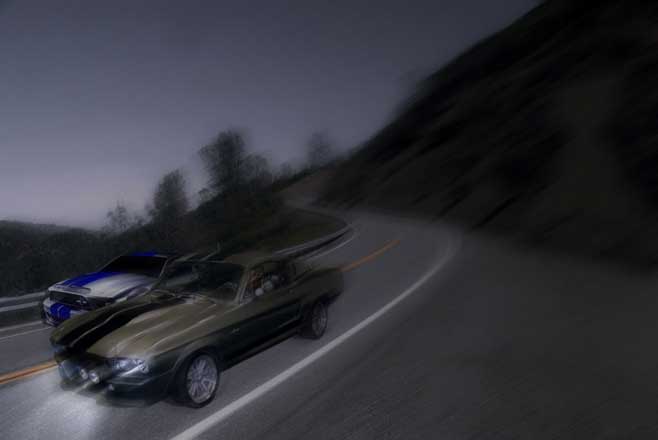
Overview - Exercise 3 - Image Creation -- Racing
This exercise continued practice with Photoshop and non-destructive image manipulation. There are two images here, "Racing - Normal" and "Racing - Motion Blur" and that was done because the process of creating a motion blur effect is a destructive change, so the image was saved out before and after that effect to maintain as much control over the manipulations as possible. It also helps to show the changes that were made to create the base composite. I had trouble with perspectives and manipulating the base images to all match up (two cars and the background plate) and so I experimented with that was well as isolated adjustments using masks on the Adjustment Layers (as seen with the headlights).
All of the components of this image were found from a Google image search.
---------------------------------------------------------