Digital 3D Visual Effects (Intro to Maya)
Final Animation - Bond's Aston Martin DB5
Either continue working on the previous project as a team or decide upon another project to create. I decided to work by myself on this project on a video of my choosing.
Overview
The goal of this project was to either continue working and refining the previous project, or to change directions. I decided it would be better for myself to change directions. I decided to work on a project by myself and to create the video and animation on my own this time. My team was good and all, I simply had a different desire for this final project. I chose to take my Aston Martin DB5 from the first project and to convert it into James Bond's DB5 with all the toys and gadgets that he had in that car. Specifically, to convert it into the car from Goldfinger and then create a video showcasing the car and the gadgets.
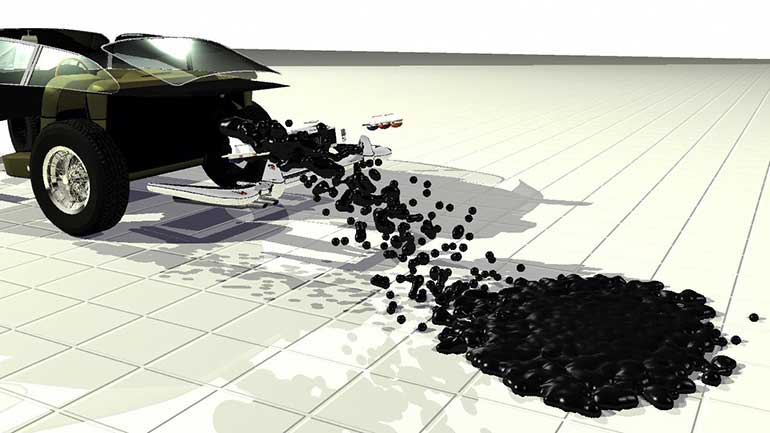
I had to finish modeling parts of the car (mainly the rear of the car) as well as create all of the new gadgets themselves and then animate them. I built the revolving license plates, guns in the front lights, tire cutters on the rims, the smoke and oil slicks in the back, and the ejectable passenger seat. I ended up facing a number of technical challenges I didn't plan on, at least not to the extent of trouble that they gave me.
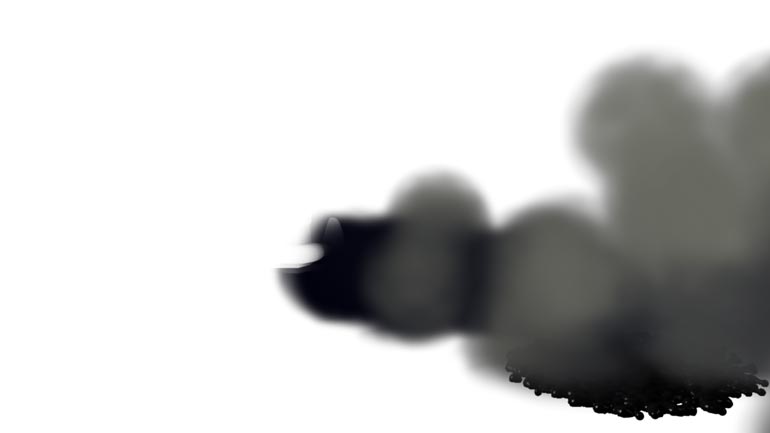
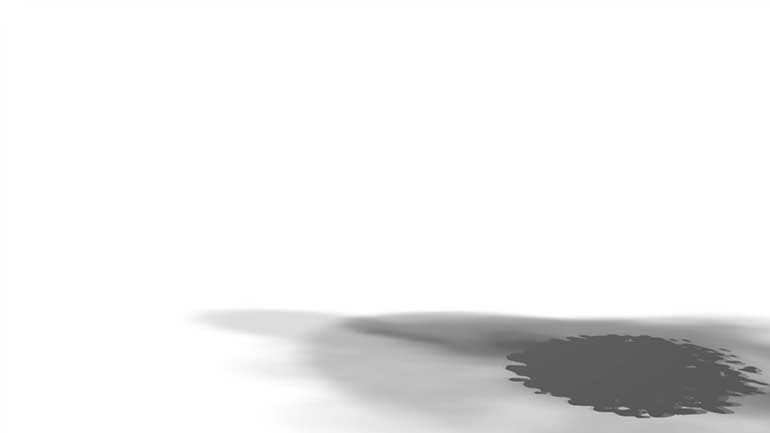
The smoke and oil effects were set up to be particles and rendered only in Maya Software because of the particular type of particles. The problem was that I needed the Mental Ray renderer for the rest of the car due to a number of my shaders. I ended up doing the particles themselves and then their shadows as a separate render and then composited them in at the end with some rotoscoping to clean up the edges. I also learned how to use the Use Background shader to get a render of the particles and their shadows chopped off by the ground plane without rendering the ground plane.
Another major difficulty that I had was the ejectable roof and seat and the dynamics related to that. When I finally set up the dynamics correctly and I baked out the animation of the roof section, I found that the shader for that section of the roof went black for no reason. No matter what shader was applied to it, no matter what I changed in terms of lighting or modeling or faces, it was always black for no apparent reason. The problem was that I needed that animation that was baked out for that section of the roof. I ended up finding a workaround by going back to a much earlier version of my scene and taking a roof section that did not have the baked animation and still had a working shader and taking the baked animation from the black roof section and copy-pasting it to the good roof. It saved me the time and trouble of rebaking out another animation and in essence, "corrupting" another roof segment. Still to this day, no one I talked to knows why that roof segment went black. But I found a workaround and I got the end result.
I also ended up having a number of other rendering errors. When I tried to do a batch render, the rims of my car would simply disappear even though their visibility was not toggled or changed ever. For some reason, in a batch render, the first frame would render out the rims while the subsequent frames wouldn't and no matter what frame you started on, the first frame was always good with the subsequent frames not working. I ended up learning how to write a Windows batch file to render every frame one at a time in sequence. So in essence, I wrote out the batch file command to get renders that worked. I don't know why Maya's batch render broke either, but it did. But the batch file was a very good workaround to solve that problem and it has helped numerous projects since then.
All in all, it was a good project and I learned a lot and took on a lot of challenges and tasks in 2 weeks that shouldn't have happened, but I was able to work around them all and get a final product that worked even if it wasn't as well polished as I would've liked. There were simply too many weird, unheard of technical issues that came up and most of my time on the project ended up turning into troubleshooting instead of modeling or animating or lighting or anything else to polish out this video. I'm still proud of everything I overcame in the short time I had though, especially because of how mind-boggling some of the issues were.
Review
What I Learned/Challenges
- I learned a lot of little workarounds and troubleshooting techniques.
- I learned about the Use Background shader and how it can be used for compositing.
- I learned how to write a Windows batch file to set up a Maya render from the command line.
Future Improvements
- I would like to clean up some of the modeling and lighting and shaders still. I would also really like to refine and rework a lot of the pacing of the animations as a whole and the pacing of the entire video - its a little on the slow side.
- I would like to sync more of the animations up with the song better.
- I would like to add an environment map and/or an environment for the car to reflect to make it look more natural instead of the plain white background.
- I would also like to change the plate numbers/names on the rotating plates to be exactly what's from the film. I used an incorrect source for this video. The three sides of the plates should be as follows: 4711-EA-62, LU.6789, and BMT 216A.
- I would like to rework the oil slick particles to include more, smaller particles for the oil itself - make it look more real and less globby.
Technical Breakdown/Extra Information
---------------------------------------------------------
This class acted as an introductory class into all things Maya. It introduced modeling techniques, shading and texturing techniques, the basics of lighting and rendering, everything. It was a crash course into Maya.