Animated Final Gather Scripts - Walkthrough
Back to Extras main page
Link to original Final Gather Script Breakdown of process.
Since my other page mostly describes why and how I did what I did, I know that there is only a short description at the end that talks about using these scripts for yourself. Well since I recently went back and reworked my scripts, I thought I'd build a simplier step-by-step walkthrough for using them in your own environment. I've also now modified the scripts to work under Linux, so that functionality has been added.
Here are the newly reworked scripts.
| fgBake.py | maya_fgRender.py | readMA.py |
| ZIP with All Three Scripts |
Walkthrough
Before you Start
Make sure that your scene is set up correctly. Make sure that it will render file sequences instead of stills and that your FG settings are where you want them to be to minimize noise and splotchiness.
File name
Render Settings > Common tab > File Output > Frame / Animation ext: > name.#.ext
Final Gather settings
Render Settings > Indirect Lighting tab > Final Gather > Accuracy, Point Density, Point Interpolation
Step 1
Open Maya. Simple right?
Step 2
Source Python script fgBake.py into Maya from the Script Editor.

|
|
|
|
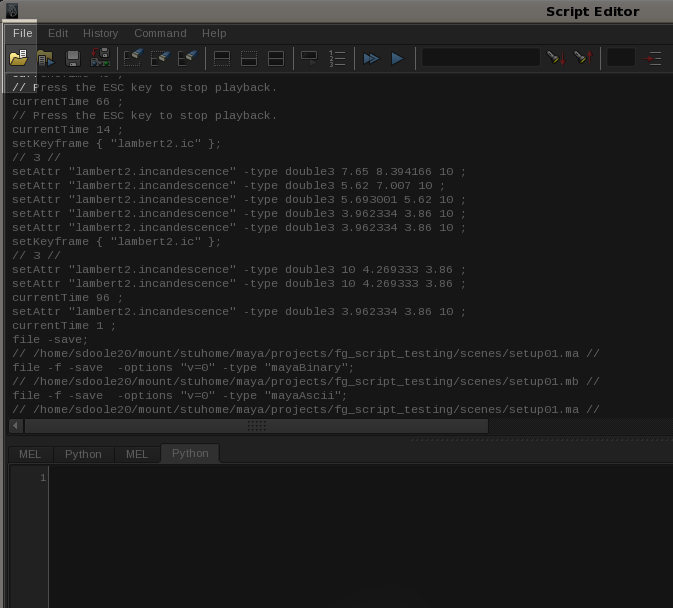
Create a new Python tab in the Script Editor. Right click in the bottom half of the Script Editor, select Add New Tab. |
Click Python. |
Click Load Script button. |
|

|
|
|
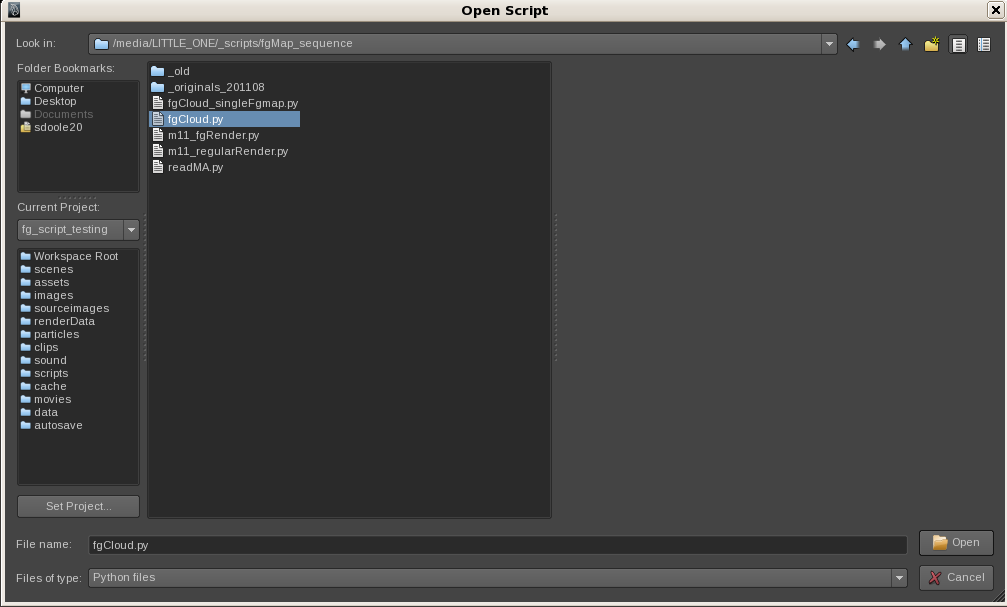
Navigate to where the scripts are. Select fgBake.py |
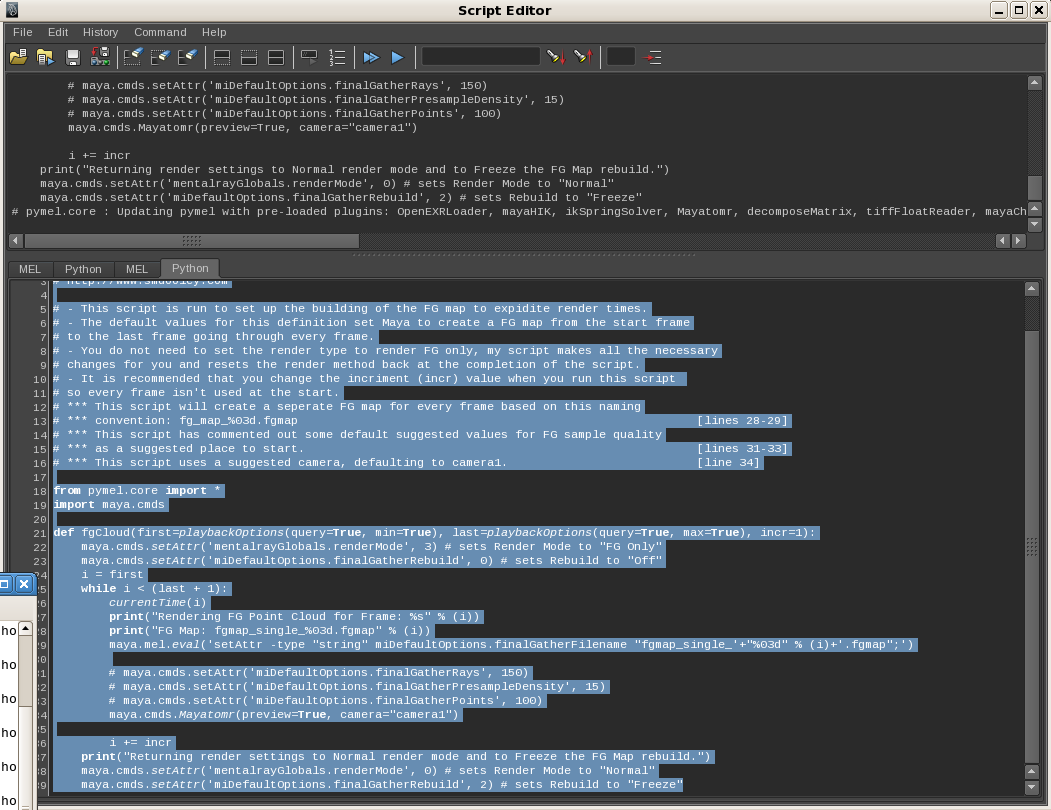
The script is now placed in the Script Editor. |
Select the text of the script. |

|
|
Click the Execute button on the main toolbar of the Script Editor. |
Step 3
Run fgBake() in the Python command line within Maya.
|
|
|
|
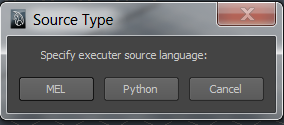
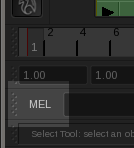
In the bottom left hand corner of Maya is the scripting command line for Maya. By default is is set to MEL. |
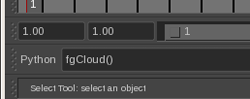
Click on the word MEL to change it to Python. Do the same to switch it back. |
Type in fgBake() with whatever additional settings you want. |
fgBake() example usage:
fgBake(first=20)
Starts at frame 20 instead of first frame. fgBake(first=30,last=60)
Only bake FG map from frame 30 to 60, inclusively. fgBake(incr=10)
From the first frame to the last frame of the playback bar, bake every other 10 frames, inclusively. If you set the incr value to anything other than 1, this process will not work. This was added for regular FG map baking. fgBake(first=10,last=20,cam='cam4')
From frame 10 to 20, inclusively, bake FG map with camera cam4. fgBake(fgRoot='fg_shot2_')
Will change the root name of the FG map. Useful if you have multiple shots. Make sure that you also change the fgRoot variable at the top of the readMA.py script.
Behind the Scenes
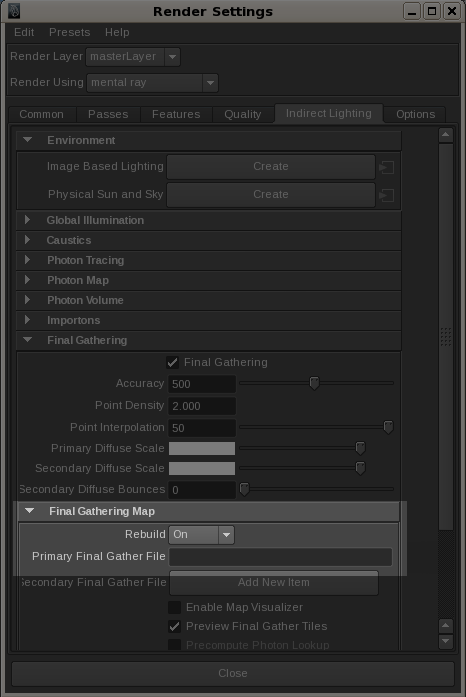
Just so you know, the script fgBake() changes render settings for you so that they are correct.
Before
|
|
|
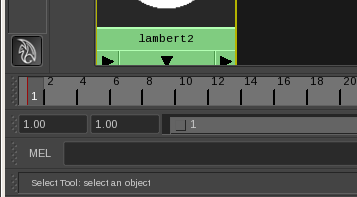
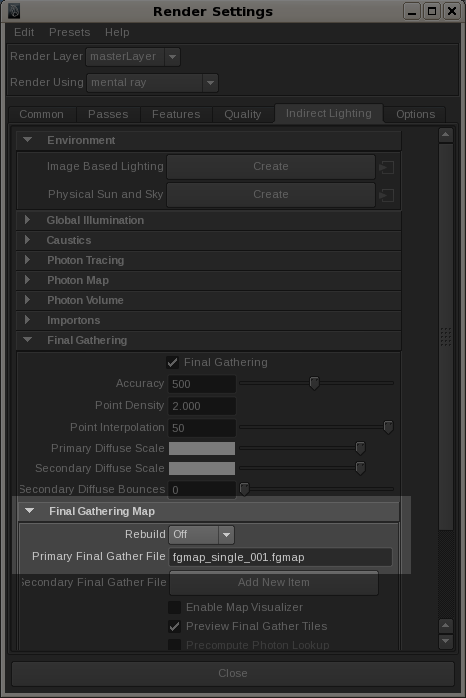
By default, Rebuild is set to On. In other words, it will create a new FG map every render of every frame. By default, the Primary Final Gather File is empty. It is not currently using a FG map. |
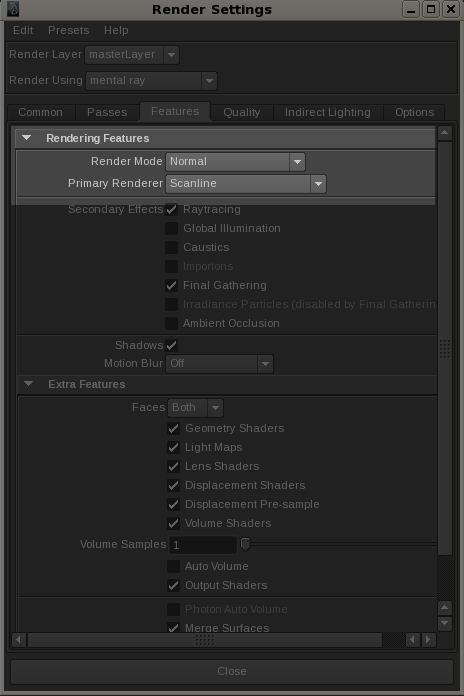
By default, Render Mode is set to Normal. |
During
|
|
|
The script will change Rebuild to Off. In other words, it will resuse any previously calculate FG points. Existing points are not recalculated, however, new points can be added if run again (to get more samples). The script changes the Primary Final Gather File to be based on the current frame number. Every frame gets it's own FG map. |
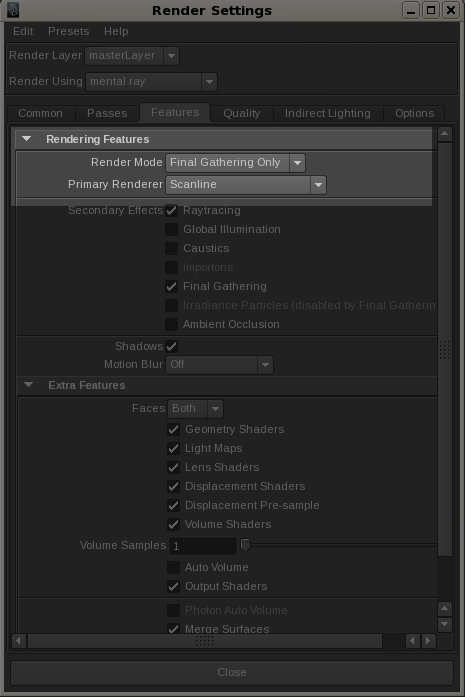
The script changes the Render Mode to Final Gather Only to speed up render times by limiting what is being processed.. |
|
|
|
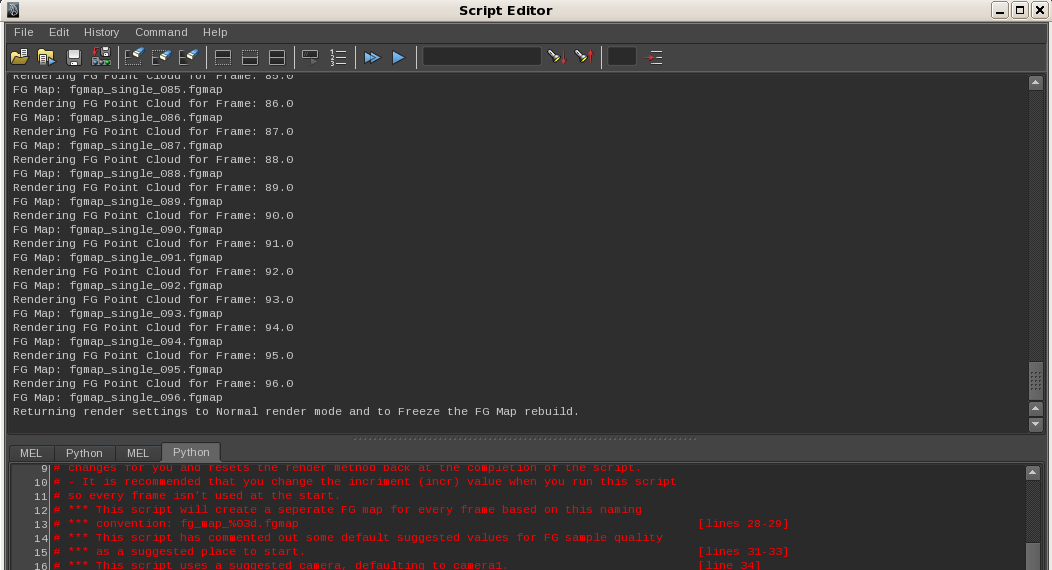
While the script is running, it will print out information to the Script Editor to let you know what it's progress is. Once done, it will notify you. |
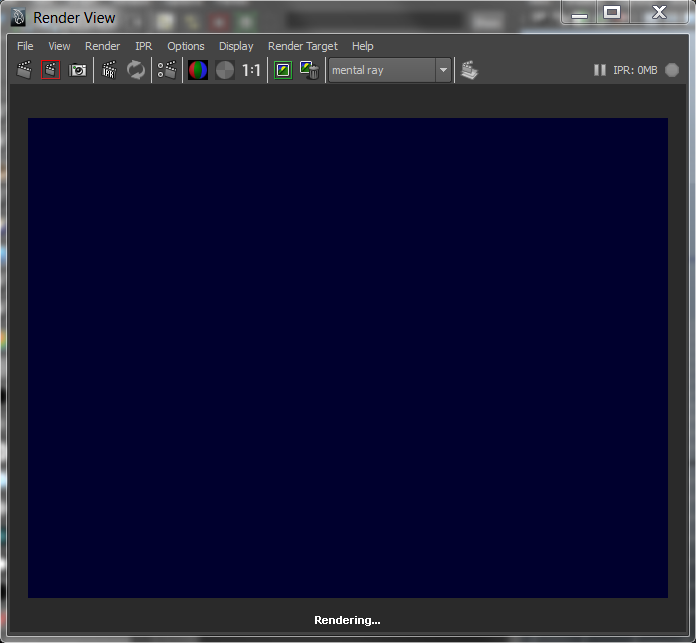
While the script is running, the Render View will appear, however it will look blue like above. That is how it looks because of the change to the Render Mode. |
After
|
|
|
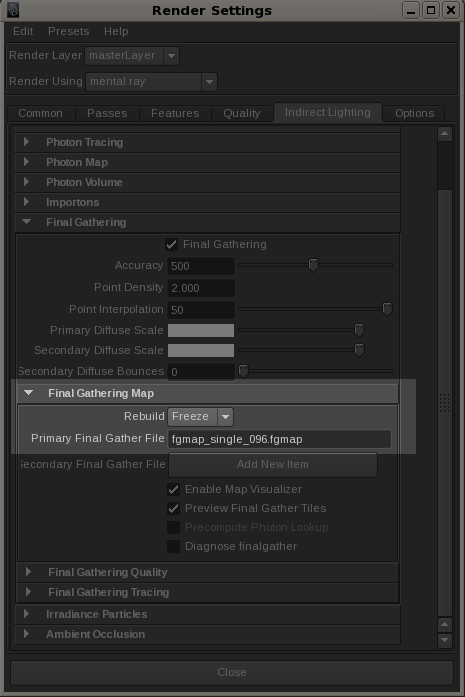
Once finished, the script will change Rebuild to Freeze. In other words, it will resuse any previously calculated FG maps. No new point samples are added to the FG map. Over the course of the script, the Primary Final Gather File will change per frame. |
Once finished, the script will change the Render Mode back to Normal. Now all subsequent renders will occur as you would expect, with the added benefit of using a FG map. |
Final Gather Rebuild settings as explained by Autodesk - link.
|
|
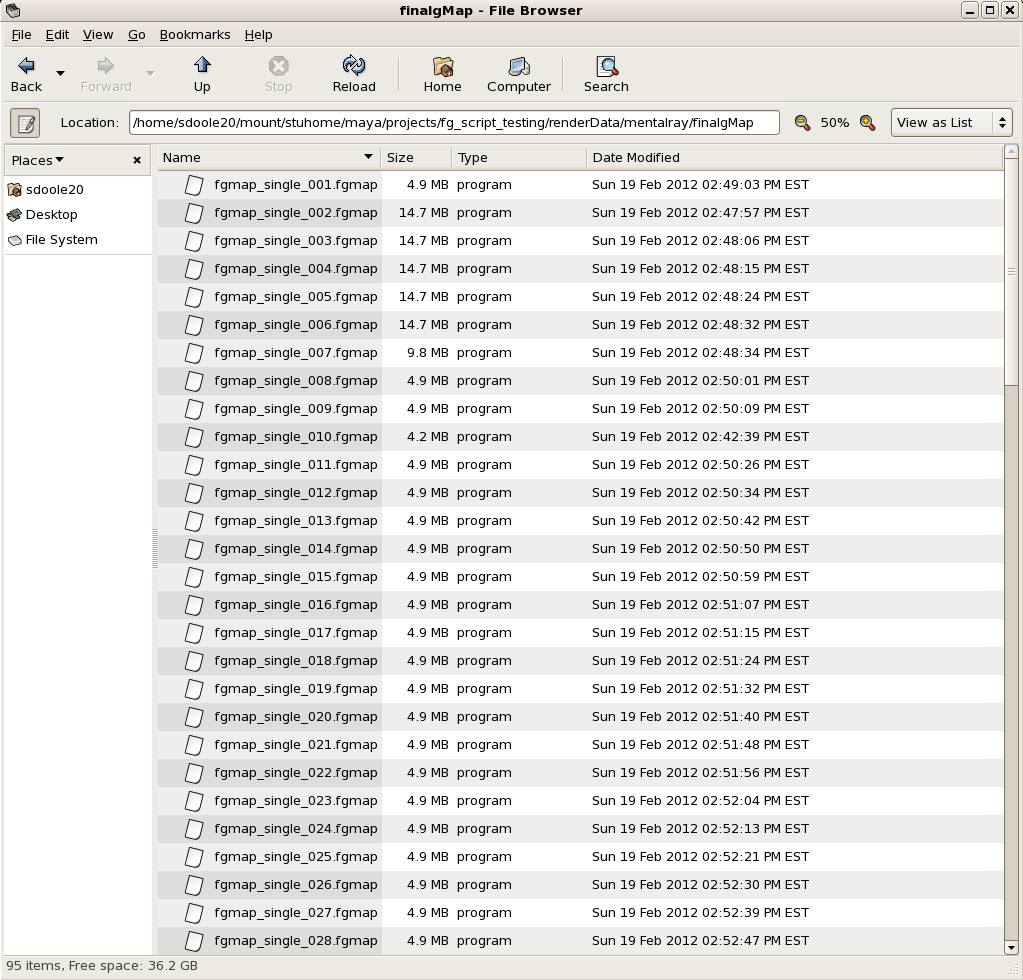
Your FG maps are stored in your [project_directory]/renderData/mentalray/finalgMap folder. |
Step 4
Wait. This could be a while because this is one of the larger parts of your render time. But once it's done, it's done, and you don't need to wait for this time again if you reuse the maps.
Step 5
Save and close Maya. You're done here.
Step 6
Navigate to the maya_fgRender.py script. Open the script in a text editor (I strongly recommend Notepad++ of gEdit). Edit the TOEKN* variables at the top to meet your environment needs. Save and close once done.
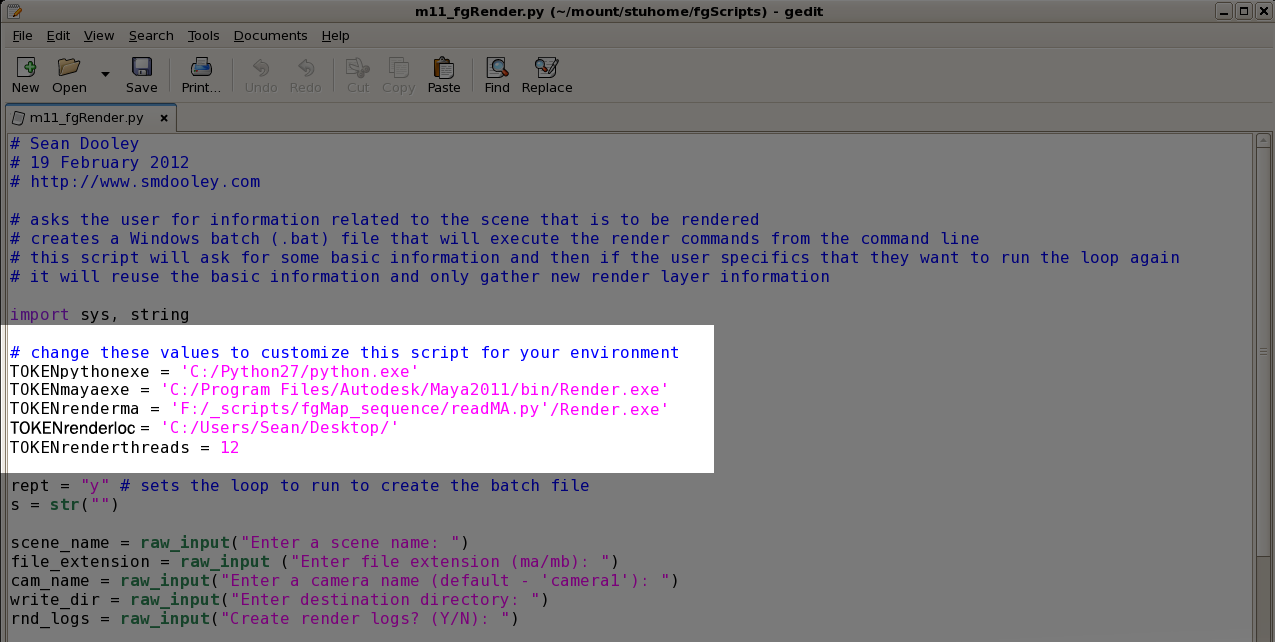
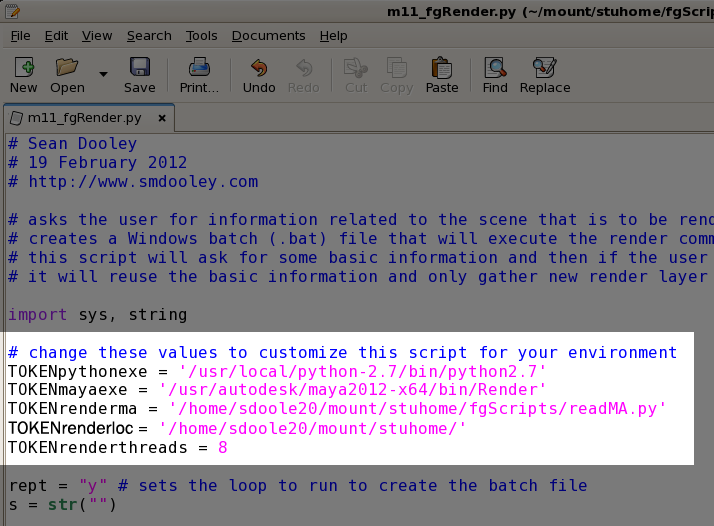
Windows example on left, Linux example on right. |
|
TOKENpythonexe needs to be the location of your Python executable. TOKENmayaexe needs to be the location of the Render.exe for the version of Maya you want to use. You can just as easily use Maya2012 or Maya2009 if you use it's file path. TOKENrenderma needs to be the direct location of the readMA.py script. This is how the thrid script is called. TOKENrenderloc is where the render command file (.bat in Windows) will be placed. I recommend it's set to where your Maya scene file is because the render file needs to be in the same place as your scene file for everything to work. You can move it there later if you place it somewhere else to start with. TOKENrenderthreads is set to whatever your maximum available threads are for increased performance. |
Step 7
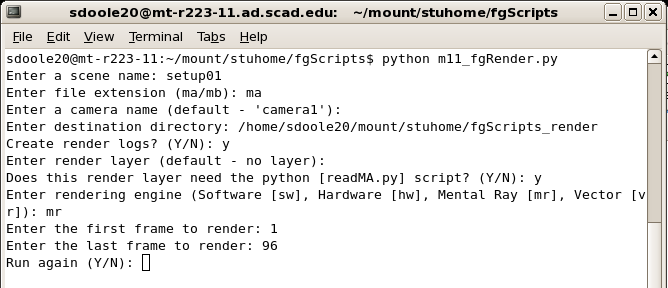
Run maya_fgRender.py. It will ask you for the information it needs.
|
|
For the 7th question ("Does this render layer need the python [readMA.py] script? (Y/N):"), this question is asked for the times when you're wanting to render multiple render layers. For example, only the beauty render layer would need the readMA.py script, but an occlsuion or mask render layer wouldn't need that at all. |
Step 8
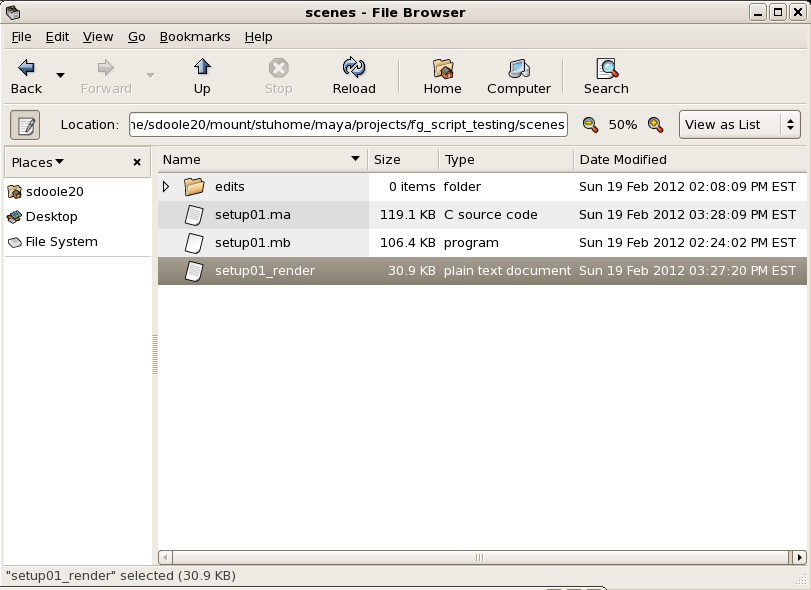
A render command file will be created wherever you told it to (based on TOKENrenderloc). It will be called [scene_name]_render(.bat in Windows). In my example, it's called setup01_render (or setup01_render.bat).
Again, make sure that this render file is in the same folder as your scene file.
|
Step 9
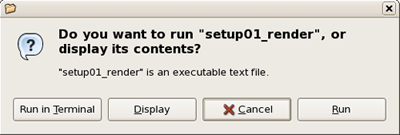
Run the render file. In windows, just double-click the .bat file. In Linux, double click it and select Run in Terminal.
|
Step 10
Wait for the renders. As it's rendering, the render file will print out progress updates to the command line (Windows) or terminal (Linux), as seen below.
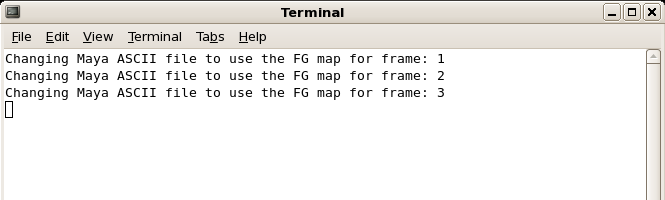
|
Your rendered images will be wherever you told the maya_fgRender.py script to put them.
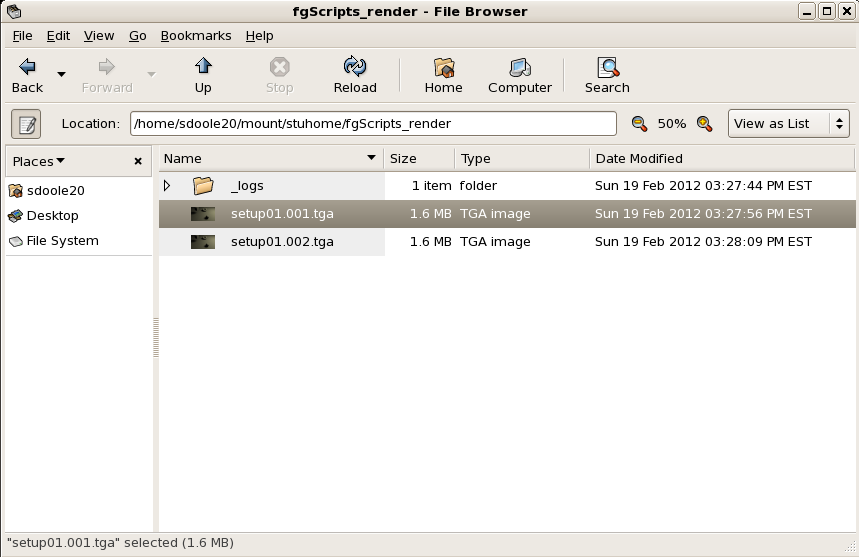
|
Closing Thoughts
And that is it. It'll do it's thing so you can go and do something else. As a side note, there is minimal error checking in the maya_fgRender.py script, so if the file path or scene file are not named correctly, it's likely not to work as you were expecting.
I ran though this whole process again recently and to show you that it works, below is the simple test example I rendered using this method. My Hong Kong project also uses this method, but it's renders were obviously significantly longer.
Final Gather Animation Demo from Sean Dooley on Vimeo.
---------------------------------------------------------
Back to Extras main page